
How to Taxidermy a Reptile
January 27, 2021 3:14 pm Leave your thoughtsTaxidermy is a 300-year-old art that involves preserving animals in a lifelike position. If you have ever been to a natural history museum, then you most likely know what taxidermy looks like in application. This process allows you to capture an animal’s best moment and preserve it in time. More recently, pet owners are also choosing to taxidermy their pets to keep their memory and personality alive.
The first solo attempt at taxidermy can be daunting even for the bravest person. It requires precision, patience, and proficiency in every step. Despite its complexity, it is a skill that can be learned and developed with proper guidance.
Taxidermy, at its most basic form, involves three steps. These are skinning, stuffing, and mounting.
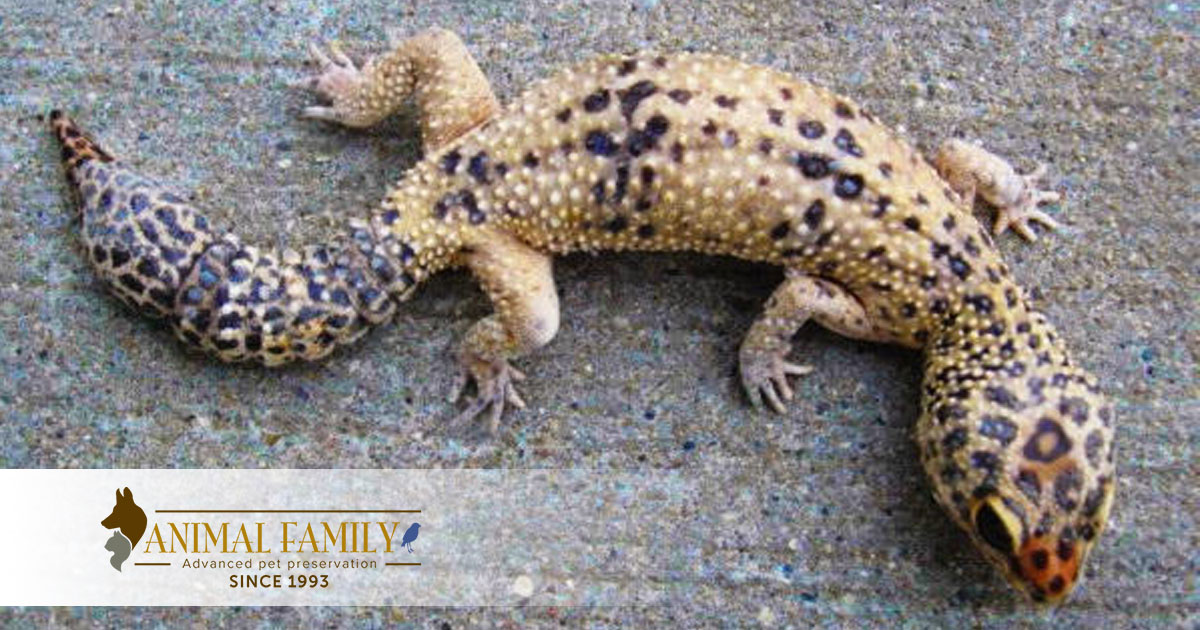
Here is a detailed look at how you can taxidermy three of the most common reptiles:
Snakes
When attempting to taxidermy a snake, care must be taken not to damage their head. When dealing with a venomous snake, first take out the fangs using pincers and then proceed.
Step 1: Make an opening through the side where the snake’s scales terminate. This is usually down the middle of the belly, starting from the lower jaw’s midpoint to the end of the tail.
Note: Do not cut through the middle of the scales as they are essential in identifying different species.
Step 2: Remove the skin completely, and then place it on the side. Extreme care should be taken not to disfigure the snake while skinning it.
Step 3: Clean the head and then remove the brain and skull. Once fully cleaned, the skull should be placed back into the body.
Step 4: Take a wire the length of the snake and wrap it in a thick layer of tow and then wrap the layer of tow with a sliver.
Step 5: Place the wire inside the skin and sew up the scales.
Step 6: Place the eyes in and wait for the snake to dry
Step 7: Add a coat of varnish and then place the snake in the desired position.
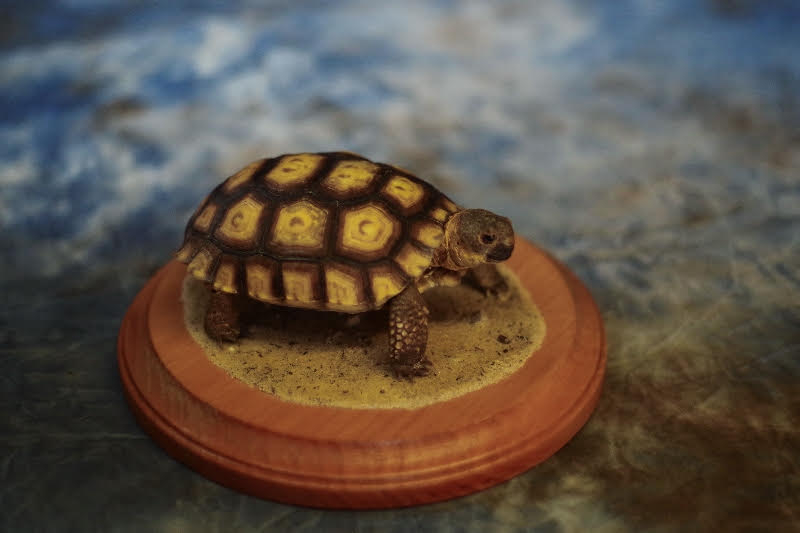
Tortoises
A tortoise’s body is made up of two layers or plates. Contrary to popular misconception, the shell is part of the body and cannot be easily removed by hand. The upper part of the body’s envelope is made up of ribs, and the lower part is the sternum.
Step 1: Separate the top and bottom with a knife that is strong enough to withstand considerable force. You will need to apply a lot of pressure, but not too much that will crack the shell.
Step 2: Open the shell, and remove the skin and flesh attached to the breastplate and top layer.
Step 3: Wash out the shell and then let it dry. Once it is dry, rub it with a preservative like arsenic.
Step 4: Pass wire through the legs, and then stuff them with flax. If you removed the skull, replace it and then stuff the head and neck with flax.
Step 5: Sew back the skin into one complete piece. Join the front sternum and the back with strings or wires
Step 6: Cut loose skin around the lower edges of the top plate and then drill four holes on each side.
Step 7: Skin through the legs and then remove the muscles. Do the same thing for the tail and remove the tailbone.
Step 8: Skin the neck until the level of the skull. Remove the brain, eyes, tongue, and face muscles.
Step 9: Wash and clean the skin and the remaining plate, then preserve the tortoise in arsenic.
Step 10: Using a piece of wood, make the tortoise’s core. This is what is used to anchor wires that support the head and legs.
Step 11: Insert wires through the legs and tail and then through the neck.
Step 12: Put back the plate that was removed and then sew back the edges. Insert colored eye glass into the eye sockets and then coat the whole tortoise in shellac.
Frogs
Before skinning a frog, wash it in cold running water and dampen it with the alum-water solution. Care should be taken when handling the frog’s body to avoid disfiguring the head.
Step 1: Take out the first neck vertebrae through the mouth, and then cut out the inside parts of the mouth.
Step 2: Using both hands, push the skin of the jaws back while pushing the body in the opposite direction. This allows the body to be removed through the mouth.
Step 3: Put the legs back in their initial position.
Step 4: Place a funnel through the mouth and pour dried sand through the funnel. Do this until the whole body is filled with sand up to the throat.
Step 5: Pass a piece of cotton through the mouth at the back of the throat. You can reinforce it with cement. This is to keep the sand from moving out through the mouth.
Step 6: Place the frog on a board and then wait for it to dry. Add a coat of varnish once it is dry.
Step 7: Make holes through the belly to allow the sand to escape.
Step 8: Place a piece of wood into the frog’s belly through the mouth. This will serve as an anchor for the wires.
Step 9: Pass 5 wires throughout the frog’s body: 4 through the legs and 1 to support the head.
Step 10: Fill the eye cavities with glass eyes.
Looking to Get Quality Taxidermy Services for Your Pet?
Animal Family Pet Preservation is a certified taxidermy studio that has been practicing since 1993. We understand what pets mean to their owners, and our taxidermy and pet cremation services are of the utmost quality and up-to-standard with high-ranking taxidermy requirements. We specialize in all types of pets and animals. These include but are not limited to cats, dogs, reptiles, and fish. We also offer free damage repair in the event of damage to your preserved pet.
Contact us today to begin the taxidermy process for your pet
Categorised in: Pet Taxidermy
This post was written by admin